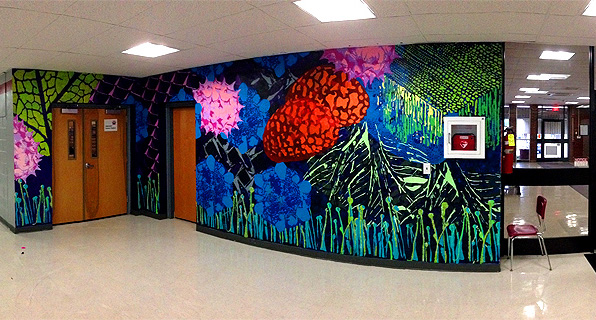
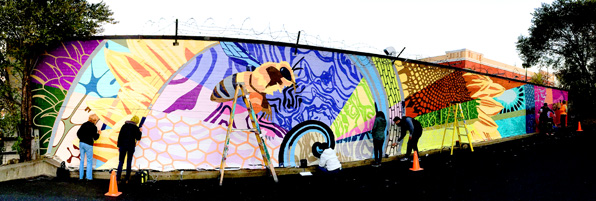
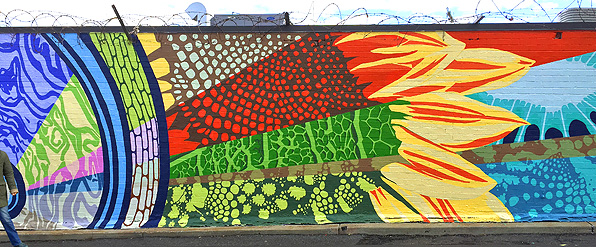
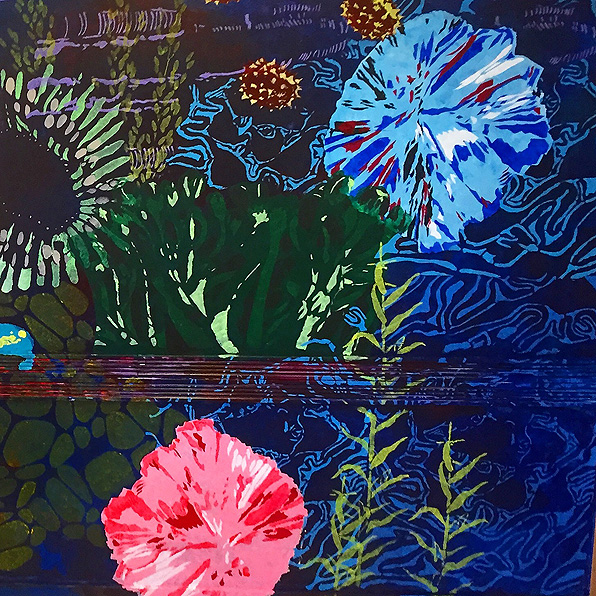
MURALS

|
|
MURAL PROCESS
Step1: The mural starts with a research and collection of the samples and images. The theme of the mural is to "make invisible to be visible." The students research the local area on microscopic and macroscopic level, collecting samples that they can relate to, image them using microscopes and camera. In addition, they collect images from internet and books.
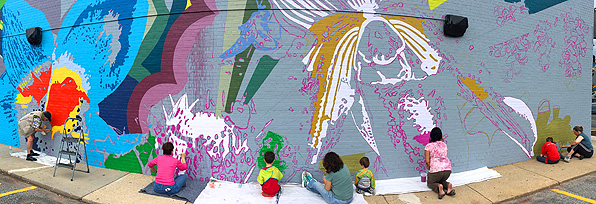
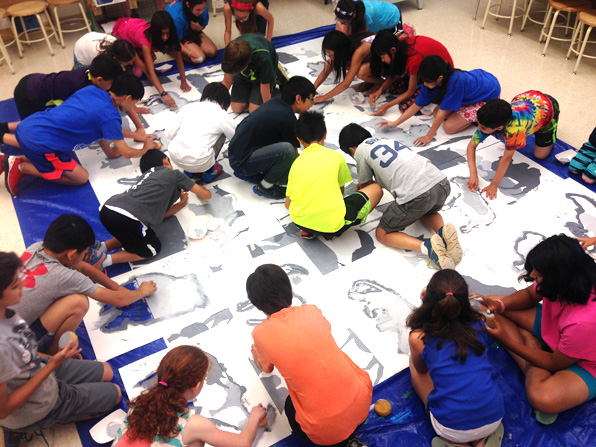
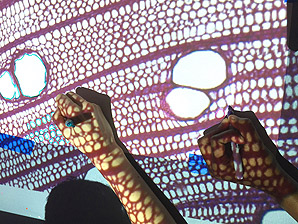
Step 2: The images are then projected onto large poster boards and outlined. During this step the students learn how stencils are made, that each line has to be a closed loop, the importance of bridges for their stability and how to create multi-colored stencils.
Step 3: The poster board with the outlined shapes are cut out using scissors and x-cto knives. Stenciling is related to other industrial graphic techniques, such as screen printing, block printing, lithography and vinyl stickers.
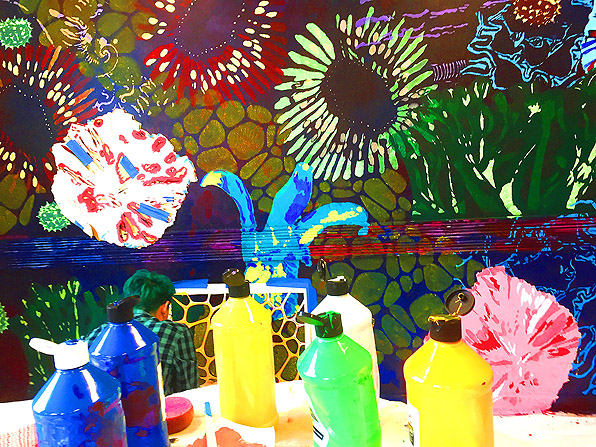
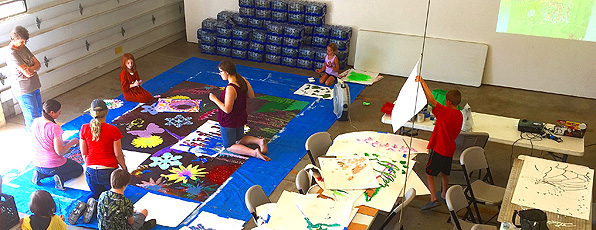
Step 4: The students prepare all the materials and tools. The first step is to paint the background. This step is fun, because they get to choose the colors and blend them together. We work with acrylic paint that is safe and non-toxic. It can be easily washed before it dries. It is applied using sponges.
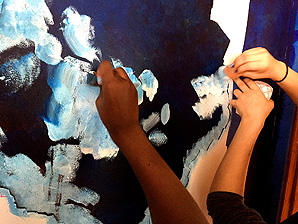
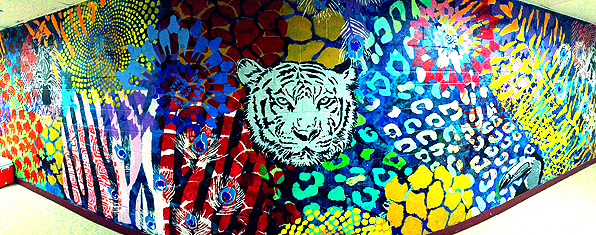
Step 5: After the first layer dries, the students start painting the actual images by using the stencils they prepared in Step 3. They choose the colors, compositions and every creative element of the mural.
Step 6: The students paint all the stencils. After each stencil is used, they must wait for it and the painted image to dry. The stencils can be repeated to create patterns.
|
